
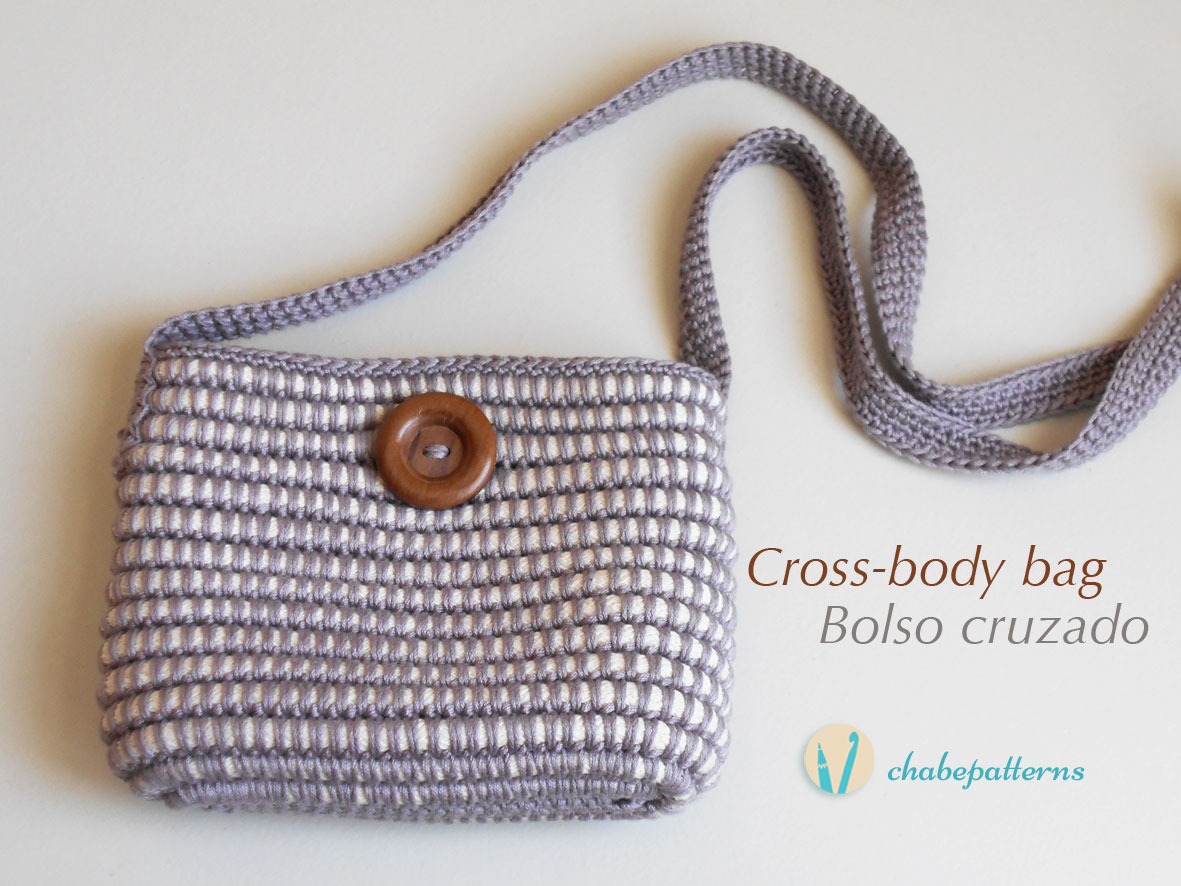
This is a special post, my first free pattern that includes a VIDEO (go to video) to complement my written instructions and chart to make it easier for you to follow. It’s a cross-body bag design, very practical to have your arms free on a fun day out. It is made with tapestry crochet technique wrapping a thick material.
Este es un post especial, mi primer patrón gratuito que incluye un VIDEO (ir al video) para complementar mis instrucciones escritas y esquema con símbolos para que puedas seguir con mayor facilidad. Es el diseño de un bolso cruzado, muy práctico para tener los brazos libres en un divertido día al exterior. Se hace con la técnica de tapestry crochet envolviendo un material grueso. Las instrucciones en español están más abajo, terminando las instrucciones en inglés.


WRITTEN INSTRUCTIONS IN ENGLISH
FINISHED SIZE
7″ x 4.9″/ 18 x 12.5 cm
GAUGE (sc with tapestry crochet)
20 sts x 11 rows= 4”/ 10 cm
SUGGESTED MATERIALS
– 3.5 mm crochet hook
– One 100 gr/ 3.52 oz (200 m/ 218 yd) skein of fine 100% cotton yarn in GRAY
– 6.6 yds/ 6 meters of 8 mm cotton cord, natural color
– One 1.4″/ 3.5 cm wide wooden button
– Stitch markers in two colors (which will be named A and B)
ABBREVIATIONS
– ch: chain
– R: row
– st: stitch
– sc: single crochet
– ss: slip stitch
– rep: repeat
STITCHES AND TECHNIQUES
– Slip stitch
– Single crochet (UK double crochet)
– Tapestry crochet
BAG
Started from the base. Crocheted in the round, in a spiral way. With cotton yarn ch 25.
R1: 3 sc in 2nd ch from hook (place a color A marker in the first st and a color B marker in the 2nd st), sc 22, 6 sc in next ch (place color B markers in 2nd and 5th st), continue on the other side of the ch, sc 22, 3 sc in the last ch (place a color B marker in the 2nd st)= 56 sts
R2: From this row on you’ll carry the cord. To start just take the cord leaving a 2”/ 5 cm strand, continue crocheting with cotton yarn but now wrapping the cord along. Don’t make knots. Relocate color A marker in the first st of every row and color B markers in the middle st every time you make 3 sc in one st. This will make counting rows and sts easier.
Sc 1, 3 sc in next st, sc 24, 3 sc in next st, sc 2, 3 sc in next st, sc 24, 3 sc in next st, sc 1= 64 sts
R3: Sc 2, 3 sc in next st, sc 26, 3 sc in next st, sc 4, 3 sc in next st, sc 26, 3 sc in next st, sc 2= 72 sts
R4-12: Sc 72. Remove color B markers in R14 and continue relocating color A marker for beginning of rows.
R13: Sc 72, remove the marker of what would be the first st of next row and sc 5 sts more (or necessary amount of sts) to reach the fold of the bag.
R14: Sc 16 (relocate beginning marker in the first of these sts, this will be the new beginning of rows), sc 4 on the cotton cord only, skip 4 sts, sc 52= 72 sts
R15-16: Sc 72
R17: Cut the cord leaving a 2″/ 5 cm strand. Sc 72 with cotton yarn only. Ss in the first st of the row and fasten off. Weave in all ends.
HANDLE
Started from one end. Crocheted in the round, in a spiral way. Leave a long strand at the beginning to sew afterwards. With cotton yarn ch 215.
R1: 3 sc in 2nd ch from hook (place a color A marker in the first st and a color B marker in the 2nd st), sc 212, 6 sc in next ch (place color B markers in 2nd and 5th st), continue on the other side of the ch, sc 212, 3 sc in the last ch (place a color B marker in the 2nd st)= 436 sts
R2: Relocate color A marker in the first st of every row and color B markers in the middle st every time you make 3 sc in one st. This will make counting sts easier.
Sc 1, 3 sc in next st, sc 214, 3 sc in next st, sc 2, 3 sc in next st, sc 214, 3 sc in next st, sc 1= 444 sts. Ss in the first st of the row. Fasten off leaving a long strand for sewing.
Final size of the handle will be 39.3″/ 100 cm long and 1.1″/ 2.7 cm wide.
FINISHING
Sew the button to the inside of the bag, just in front of the eyelet, to the center.
Sew each end of the handle to the sides of the bag, 4 rows below the edge.
The bag’s ready.
INSTRUCCIONES ESCRITAS EN ESPAÑOL
MEDIDAS FINALES
18 x 12.5 cm
MUESTRA ORIENTATIVA (en mp. con tapestry crochet)
20 p. x 11 vtas= 10 x 10 cm
MATERIALES SUGERIDOS
– Gancho de 3.5 mm
– 1 madeja de 100 gr. (200 m) de hilaza delgada 100% algodón en GRIS
– 6 m. de cordón de algodón trenzado de 8 mm o similar en color natural
– 1 botón de madera de 3.5 cm de ancho
– Marcadores de puntos en dos colores (que llamaremos A y B)
ABREVIATURAS
– cad: cadena
– p: punto
– vta: vuelta
– mp: medio punto
– pd: punto deslizado
– sig: siguiente
– aum: aumento
– rep: repetir
PUNTADAS Y TÉCNICAS
– Medio punto o punto bajo
– Punto deslizado o punto raso
– Tapestry crochet
BOLSO
Se teje en redondo, en espiral, comenzando desde la base. Con hilaza hacer 25 cad.
Vta. 1: En la 2ª cad. desde el gancho hacer 3 mp (colocar una marca color A en el 1er p. y una marca color B en el 2º p), 22 mp, 6 mp. en la sig. cad. (colocar marca color B en el 2º y 5º p), continuar por el otro lado de las cad, 22 mp, 3 mp. en la última cad. (colocar marca color B en el 2º p)= 56 p.
Vta. 2: A partir de esta vta. se empezará a cargar el cordón. Para agregarlo sólo tomarlo dejando un tramo de 4 ó 5 cm. No hacer nudos. Se seguirá tejiendo con el estambre de algodón pero ahora envolviendo el cordón. Reubicar la marca color A en el 1er p. de cada vta. y las marcas color B en el p. central de cada aum. Esto ayudará a contar los p. y las vtas. con mayor facilidad.
1 mp, 3 mp. en el sig. p, 24 mp, 3 mp. en el sig. p, 2 mp, 3 mp. en el sig. p, 24 mp, 3 mp. en el sig. p, 1 mp= 64 p.
Vta. 3: 2 mp, 3 mp. en el sig. p, 26 mp, 3 mp. en el sig. p, 4 mp, 3 mp. en el sig. p, 26 mp, 3 mp. en el sig. p, 2 mp= 72 p.
Vta. 4-12: 72 mp. Quitar las marcas B y sólo continuar reubicando la marca A de inicio de vta.
Vta. 13: 72 mp, quitar la marca del que sería el 1er p. de la vta. 14 y teje 5 mp. más (o los que sean necesarios) para alcanzar el doblez del bolso.
Vta. 14: 16 mp (reubicar la marca de inicio de vta. en el primero de estos p, ese será el nuevo comienzo de vta), 4 mp. sobre el cordón solamente, saltar 4 p, 52 mp= 72 p.
Vta. 15-16: 72 mp.
Vta. 17: Cortar el cordón de algodón dejando una hebra de 4 ó 5 cm. Hacer 72 mp. con la hilaza de algodón solamente. Hacer 1 pd. en el 1er p. de la vta. y rematar. Esconder las hebras.
ASA
Se teje en redondo, en espiral, comenzando desde un extremo. Con hilaza hacer 215 cad. dejando hebra larga al inicio para unir posteriormente.
Vta. 1: En la 2ª cad. desde el gancho hacer 3 mp (colocar una marca color A en el 1er p. y una marca color B en el 2º p), 212 mp, 6 mp. en la sig. cad. (colocar marca color B en el 2º y 5º p), continuar por el otro lado de las cad, 212 mp, 3 mp. en la última cad. (colocar marca color B en el 2º p)= 436 p.
Vta. 2: Reubicar la marca color A en el 1er p. de cada vta. y las marcas color B en el p. central de cada aum. Esto ayudará a contar los p. con mayor facilidad.
1 mp, 3 mp. en el sig. p, 214 mp, 3 mp. en el sig. p, 2 mp, 3 mp. en el sig. p, 214 mp, 3 mp. en el sig. p, 1 mp= 444 p. Hacer 1 pd. en el 1er p. de la vta. Rematar dejando hebra larga para unir.
El tamaño final del asa será 1 metro de largo por 2.7 cm de ancho.
TERMINADO
Coser el boton al interior del bolso, a la altura del ojal, justo al centro.
Coser cada extremo del asa a los lados del bolso, a 4 vtas. de la orilla.
El bolso está listo.